
Universe Image Creator Post – March 29, 2021 by W.Diard
This post is based on the tutorial on 3-28-21: Getting Started Series #1: Add a few objects, change some settings, orientation, location, and more. (3:30min): https://youtu.be/qD0UH8vsQgA
New Getting Started Series of Tutorials – #1: In the Beginning…
These short tutorials are designed to help you understand and use this program quickly. The first tutorial can be viewed here: https://youtu.be/qD0UH8vsQgA
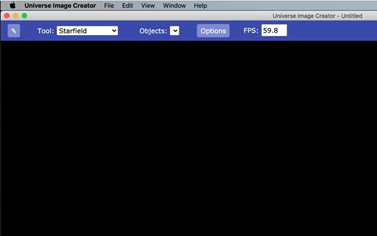
After you open the program, you’ll see this black screen. This is a blank universe “scene” just waiting for universe objects to be placed on it.
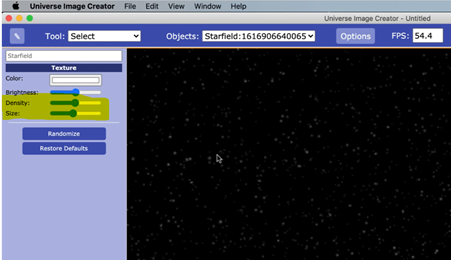
To get started, click on the first box with a pencil in it. This shows the settings of the tool selected. Its default is the starfield tool which is usually the backdrop of every universe. This tool’s settings are listed below. I recommend you increase the density and size of the starfield (highlighted) so that you can easily see the stars. Now click anywhere in the black space and the stars will be displayed. To change them, just change any of the settings and it will be altered immediately.
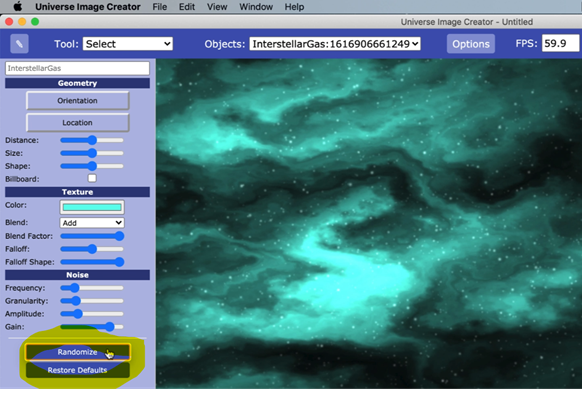
One of my favorite tools is the interstellar gas. This tool’s settings are displayed below. Click anywhere in your universe and it will display the gas based on the settings. If you do not like this “sampling”, click on the “Randomize” button (highlighted below) to see a different sampling. We recommend that you play around with the different settings to see what they can do. If you don’t like your changes, you can always click on the “Restore Defaults” button (also highlighted below).
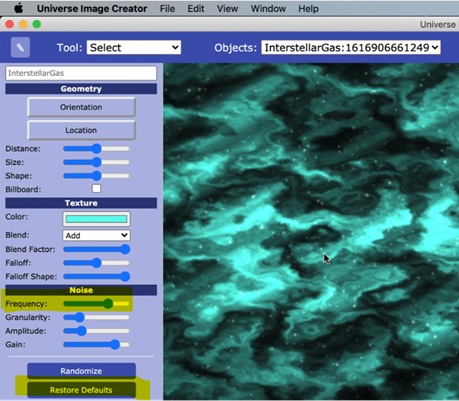
For instance, if you increase the frequency, the gas pattern has more “noise” (see below).
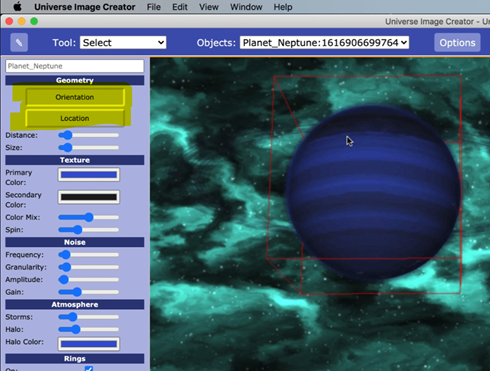
All of the tools (except the star field) have two large buttons labeled “Orientation” and “Location” (highlighted below). When clicked, the orientation button appears “depressed”. You can then freely rotate the selected object. Below shows a newly placed Neptune style planet being rotated by right-clicking your mouse and dragging it over the object. When the “Location” button is pressed, you can change where the object is placed in the scene. Simply click your mouse at the new location and the object will move there. Remember to “deselect” either of these buttons when you are finished using that feature.
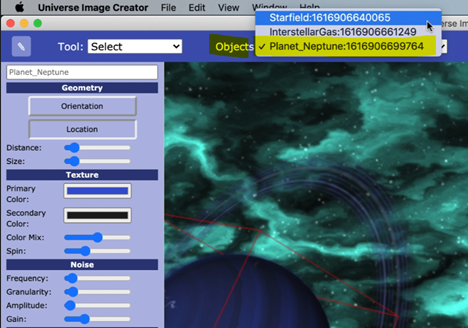
If you would like to edit a different object, click on the down arrow in the displayed “Object”, and you will see the objects that you have already added. There is a check mark (see highlighted below) next to the object which is currently selected. To edit or view the settings for a different one, simply select it (displayed in blue).
We hope that this will help you get started!